
Arwa Harem Jumpsuit


Pattern Description: Arwa Harem Jumpsuit PDF sewing pattern
Pattern Sizing: XXS - 5XL. I cut a size 2XL.
Did it look like the photo/drawing on the pattern envelope once you were done sewing with it? Yes! It is exactly how I envisioned it.
Were the instructions easy to follow? Very easy. I made a muslin first and when I made the second jumpsuit, I didn't need the instructions.
What did you particularly like or dislike about the pattern? I absolutely LOVE this jumpsuit. I feel like I've found my new summer outfit.
Fabric Used: Double Brushed Knit in red.
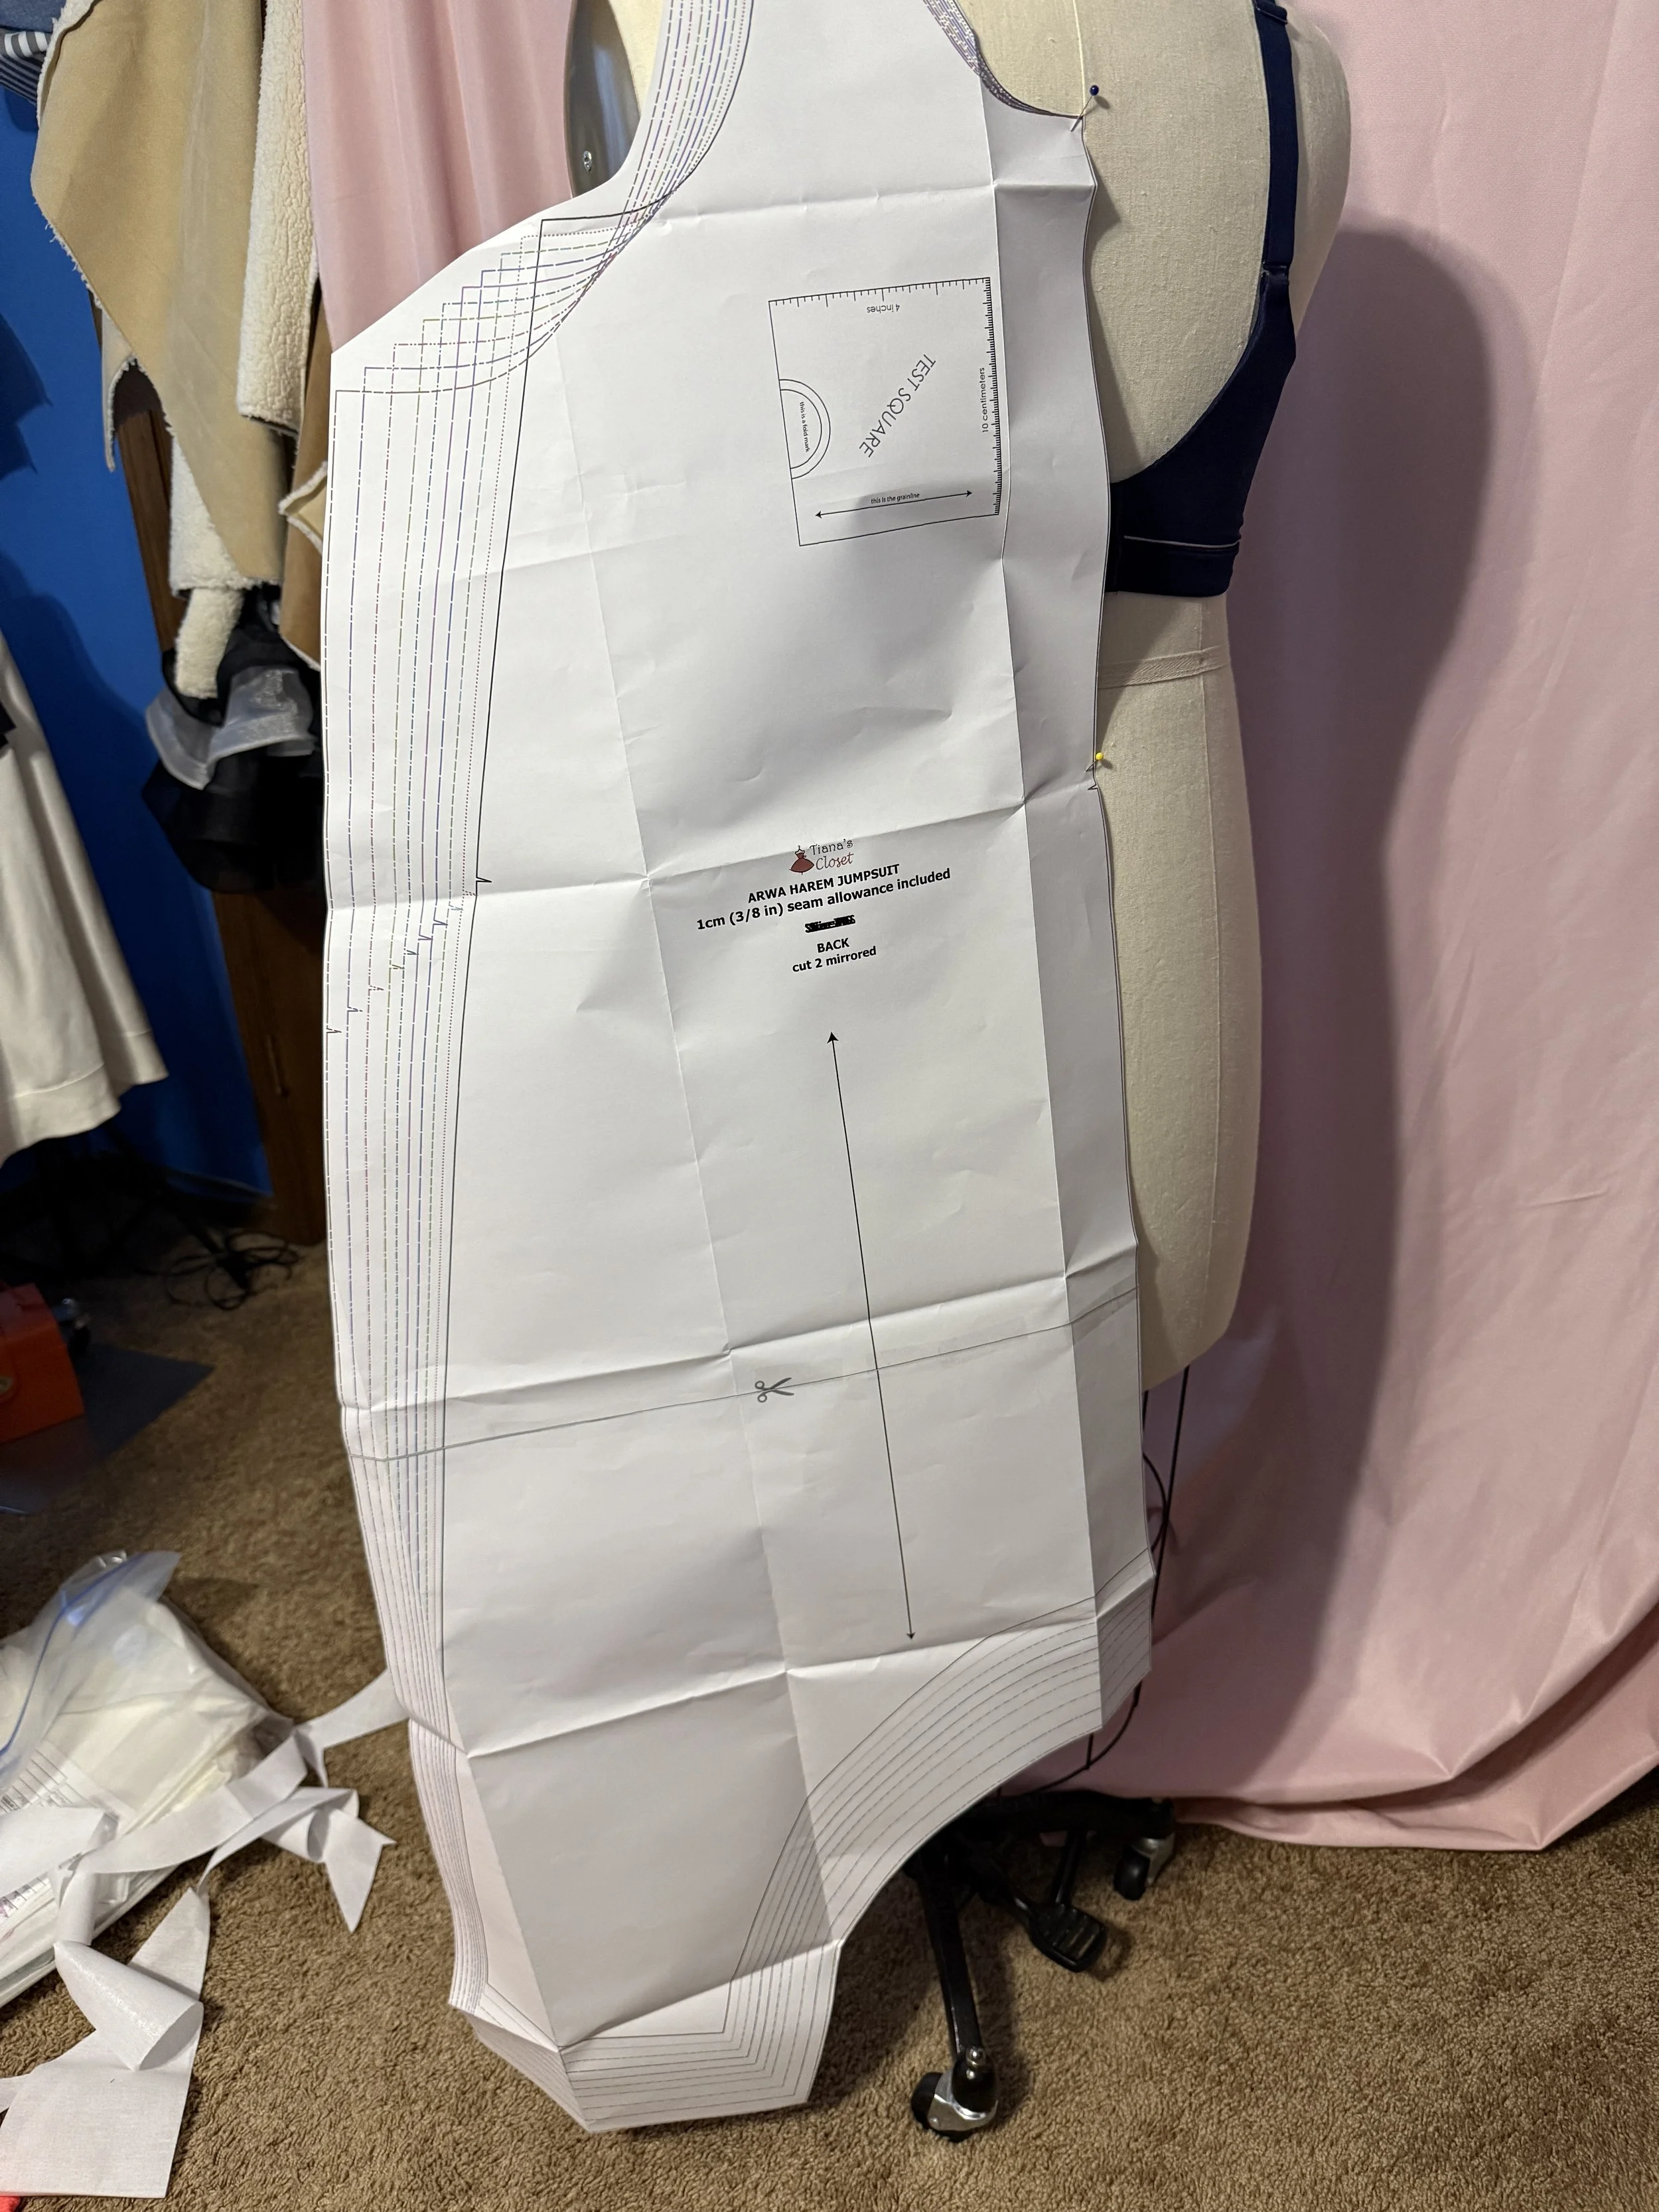
Pattern alterations or any design changes you made: I didn't make any design changes. I did shorten the length a little over an inch. With the added band, the jumpsuit was too long for me. I'm 5'1". Based on the sizing chart, I should have cut a 5XL. My waist is 47 inches, and the 5XL waist measurement is 40. There weren't any "Finished Measurements" on the pattern, so I used a tape measure to measure the sides of the paper pattern at the waist line. The 5XL measured 18 inches - with the front pattern piece cut on the fold, this would end up being 36 inches for the front. The back also measured 18 inches for the 5XL size - which would be 36 inches for the back minus the seam allowance. That's about 71 inches for the waistline. Even though this jumpsuit is supposed to be slightly oversized, there is no way my 47 inch waist would fill this out. The 2XL size measured 68 inches around before the seam allowance. That's about 20 inches bigger that my waist. So I was still stumped on what size to make. As I continued to solve this dilemma, I placed the paper pattern (front and back pieces) on my dress form to see where the side would fall. The 2XL looked like it would work to give me the correct size and the bagginess needed for the harem look. I also used another pattern that I know fits, and measured it up against this jumpsuit pattern to determine the correct size. After all of that, I decided the 2XL would work, but I did a muslin just to be sure. 2XL for the win!
The directions for the neckline and armholes suggest making bias binding by folding the knit fabric in (longways) and then folding again to create a double sided bias strip. Instead of doing this, I used my coverstitch machine. First, I serged the neckband with the right side of neckband facing the wrong side of my jumpsuit. Then, I folded the raw edge towards the right side of jumpsuit halfway and then again to in case the serged seam. Then I used a wide cover stitch to stitch down the neckband. I repeated this for the arm bands. This gave a cleaner finish and allowed for stretching and recovery.
There is an opening in the back to allow you to get in and out of the jumpsuit. My opening is 5 inches from the top. When I did the muslin, the opening guide on the pattern was too low (it was about 10 inches down), so I brought it up. I added a snap closure, but I was actually able to get in and out of the jumpsuit without undoing the snap. I believe the cover stitched binding and fabric will allow ease of getting in and out without having an opening and allow recovery. I didn't unsnap the jumpsuit when I went to the bathroom and the neckline had great recovery. On my next make, I will try it without an opening.
Lastly, I stitched the pockets down to the front of the jumpsuit to keep them from drooping or falling to the back.
Not necessary, but I put a few thin pieces of knit interfacing around the back of the opening and back neckline - just for extra stabilizing around the opening. I won't use the knit interfacing if I don't leave an opening.
Would you sew it again? Would you recommend it to others? Definitely! I've already cut 4 more out.